Power BI Report Server: Managing Multi-Homed URLs in an Availability Group Setup
Running Power BI Report Server in a high-availability setup can be a bit tricky—especially when you want it to respond to multiple URLs. A common scenario is when the Report Server is installed on nodes that are part of a SQL Server Availability Group (AG).
Why Multiple URLs Matter
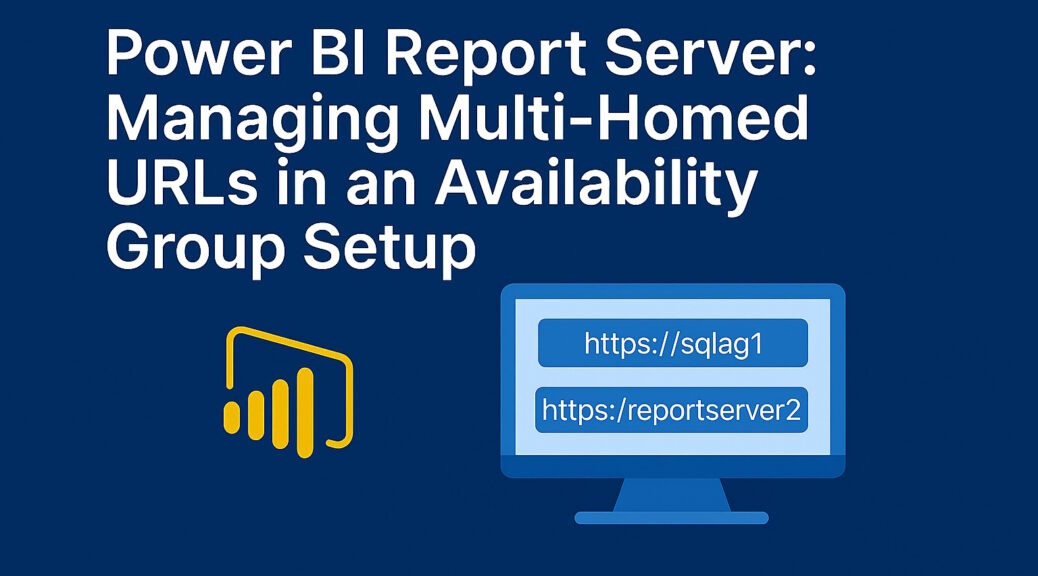
In this setup, each server should be reachable via its own hostname, but the primary node of the AG should also be accessible via the AG listener name. This ensures that traffic is routed to the licensed primary Report Server, especially when the secondary node isn’t licensed for active use.

In this example Reportserver 2 also has the listener for the AG name https://sqlag1. Don’t get confused…this is an AI generated image: Reportserver2 is the current Primary of the AG in this setup.
However you are able and should register that AG url (https://sqlag1) on all nodes in advance in case another node becomes the primary.
However, there’s a catch:
The Report Server Configuration Manager only allows you to define one URL per endpoint (Web Service and Web Portal). So how do we make it listen on multiple addresses?
The Manual Way: Editing the Configuration File
To enable multiple URLs, you’ll need to manually edit the Report Server configuration file.
Steps to Configure Multi-Homed URLs
Locate the config file
Default path:
C:\Program Files\Microsoft Power BI Report Server\PBIRS\ReportServer\rsreportserver.config
Backup first!
Always make a copy of the config file before editing. Better safe than sorry 😉
Find the <URLReservations> section
This is where the URL bindings are defined.
Here’s an example how this typically looks:
 <URLReservations>
  <Application>
    <Name>ReportServerWebService</Name>
    <VirtualDirectory>ReportServer</VirtualDirectory>
    <URLs>
      <URL>
        <UrlString>http://127.0.0.1:80</UrlString>
        <AccountSid>S-1-5-80-1730998386-2757299892-37364343-1607169425-3512908663</AccountSid>
        <AccountName>NT SERVICE\PowerBIReportServer</AccountName>
      </URL>
      <URL>
        <UrlString>https://reportserver1:443</UrlString>
        <AccountSid>S-1-5-80-1730998386-2757299892-37364343-1607169425-3512908663</AccountSid>
        <AccountName>NT SERVICE\PowerBIReportServer</AccountName>
      </URL>
    </URLs>
  </Application>
  <Application>
    <Name>ReportServerWebApp</Name>
    <VirtualDirectory>Reports</VirtualDirectory>
    <URLs>
      <URL>
        <UrlString>http://127.0.0.1:80</UrlString>
        <AccountSid>S-1-5-80-1730998386-2757299892-37364343-1607169425-3512908663</AccountSid>
        <AccountName>NT SERVICE\PowerBIReportServer</AccountName>
      </URL>
      <URL>
        <UrlString>https://reportserver1:443</UrlString>
        <AccountSid>S-1-5-80-1730998386-2757299892-37364343-1607169425-3512908663</AccountSid>
        <AccountName>NT SERVICE\PowerBIReportServer</AccountName>
      </URL>
    </URLs>
  </Application>
</URLReservations>
Add additional URLs
You’ll need to add entries for both:
- ReportServerWebService
- ReportServerWebApp
Just copy one URL entry and insert it into the XML in both sections with adjusting the UrlString Element.
Here’s an example:
<URLReservations>
  <Application>
    <Name>ReportServerWebService</Name>
    <VirtualDirectory>ReportServer</VirtualDirectory>
    <URLs>
      <URL>
        <UrlString>http://127.0.0.1:80</UrlString>
        <AccountSid>S-1-5-80-1730998386-2757299892-37364343-1607169425-3512908663</AccountSid>
        <AccountName>NT SERVICE\PowerBIReportServer</AccountName>
      </URL>
      <URL>
        <UrlString>https://reportserver1:443</UrlString>
        <AccountSid>S-1-5-80-1730998386-2757299892-37364343-1607169425-3512908663</AccountSid>
        <AccountName>NT SERVICE\PowerBIReportServer</AccountName>
      </URL>
      <URL>
        <UrlString>https://sqlag01:443</UrlString>
        <AccountSid>S-1-5-80-1730998386-2757299892-37364343-1607169425-3512908663</AccountSid>
        <AccountName>NT SERVICE\PowerBIReportServer</AccountName>
      </URL>
    </URLs>
  </Application>
  <Application>
    <Name>ReportServerWebApp</Name>
    <VirtualDirectory>Reports</VirtualDirectory>
    <URLs>
      <URL>
        <UrlString>http://127.0.0.1:80</UrlString>
        <AccountSid>S-1-5-80-1730998386-2757299892-37364343-1607169425-3512908663</AccountSid>
        <AccountName>NT SERVICE\PowerBIReportServer</AccountName>
      </URL>
      <URL>
        <UrlString>https://reportserver1:443</UrlString>
        <AccountSid>S-1-5-80-1730998386-2757299892-37364343-1607169425-3512908663</AccountSid>
        <AccountName>NT SERVICE\PowerBIReportServer</AccountName>
      </URL>
      <URL>
        <UrlString>https://sqlag01:443</UrlString>
        <AccountSid>S-1-5-80-1730998386-2757299892-37364343-1607169425-3512908663</AccountSid>
        <AccountName>NT SERVICE\PowerBIReportServer</AccountName>
      </URL>
    </URLs>
  </Application>
</URLReservations>
Save the config and open Report Server Configuration Manager
You should now see multiple entries under both “Web Service URL” and “Web Portal URL”.
Check Certificate
When configuring your Power BI Report Server to respond to multiple URLs—especially in an Availability Group setup—make sure your SSL certificate includes all relevant hostnames in its Subject Alternative Name (SAN) field.
For example, if your server should respond to both:
https://reportsrv2https://sqlag1
Then both of these must be listed as SAN entries in the certificate. Otherwise, users may encounter certificate warnings or SSL handshake failures when accessing the Report Server via one of the alternate URLs.
This is a crucial step to ensure secure and seamless access across all endpoints.
Restart the Report Server service
This applies the new bindings.
Repeat on all AG nodes
Make sure each node has the correct URLs configured, especially the listener name.
Only add the listener name but not accidentally the name of the second node 😉.
Troubleshooting Tip
Sometimes, even after updating the config, you might run into issues with URL reservations. If that happens, check out this related blog post for help resolving those conflicts.
This setup ensures that your Power BI Report Server is reachable under all necessary addresses, while staying compliant with licensing requirements. It’s a bit of manual work, but once done, it makes your AG-based deployment much more robust.
Disclaimer
This article was created based on my personal notes with support from Microsoft Copilot. While Copilot assisted in structuring and refining the content, all technical details have been carefully reviewed and developed by me.