How to Configure Okta Access Gateway for Power BI Report Server
So, you’ve got Power BI Report Server running smoothly inside your domain with Kerberos authentication working like a charm. Now you want to make it accessible from the outside world—securely—and integrate it with Okta for modern authentication. Sounds like a plan! Let’s walk through how to make that happen using Okta Access Gateway (OAG).
Prerequisites
Before diving into the configuration, make sure you’ve got the following in place:
- Kerberos is working internally with Power BI Report Server. All SPNs are correctly registered, and authentication flows as expected. If you need a refresher, this SQLBits session is gold.
- Okta Access Gateway is installed and running, including the Kerberos integration.
- Constrained Delegation is configured for the OAG service account, allowing it to delegate credentials to the Power BI Report Server.
- You’ve already set up an external URL in your reverse proxy (e.g.,
https://pbi.company.com) that points to the OAG.
With that out of the way, let’s get to the fun part.
Please note: Getting such a solution up and running is tough and requires deep knowledge in Kerberos and Web Development (which I honestly do not claim for myself). This is my attempt to add a missing piece to the puzzle: Instructions how to configure Okta Access Gateway for Power BI Reportserver.
Please let me know in the comments if that’s helpful or if you are stuck on the way…maybe I can help 😉.
Step-by-Step: Configuring Okta Access Gateway
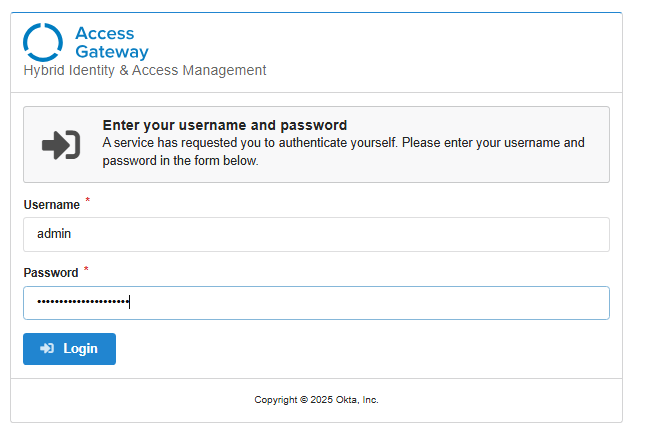
1. Log in to the OAG Admin Console
Open your browser and log in to the Okta Access Gateway web interface.
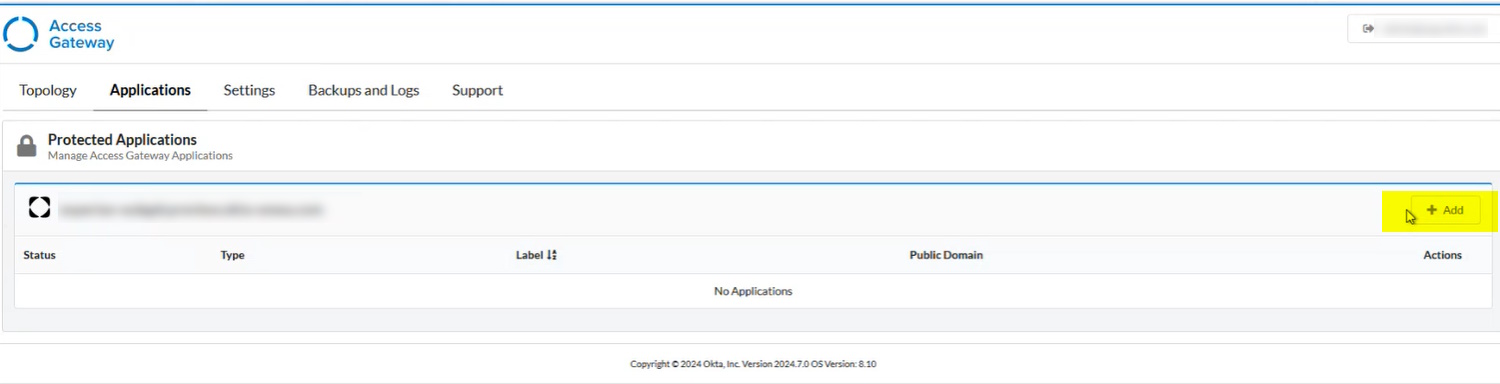
2. Add a New Protected Application
- Go to the Applications tab.
- Click Add under your tenant.
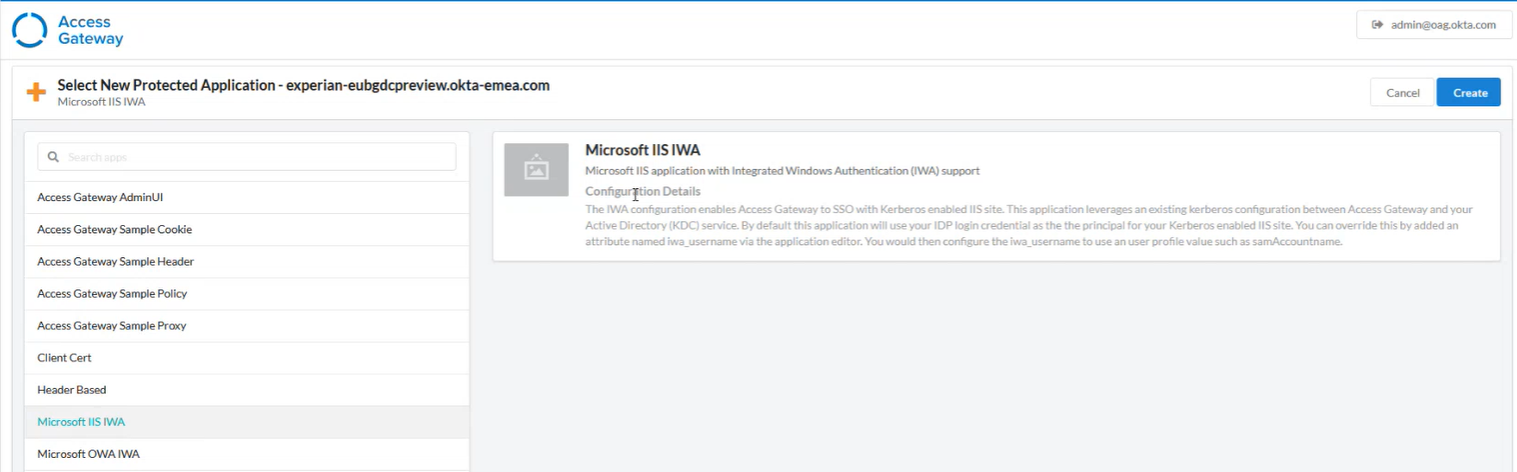
- Choose Microsoft IIS IWA as the application type.
- Click Create.
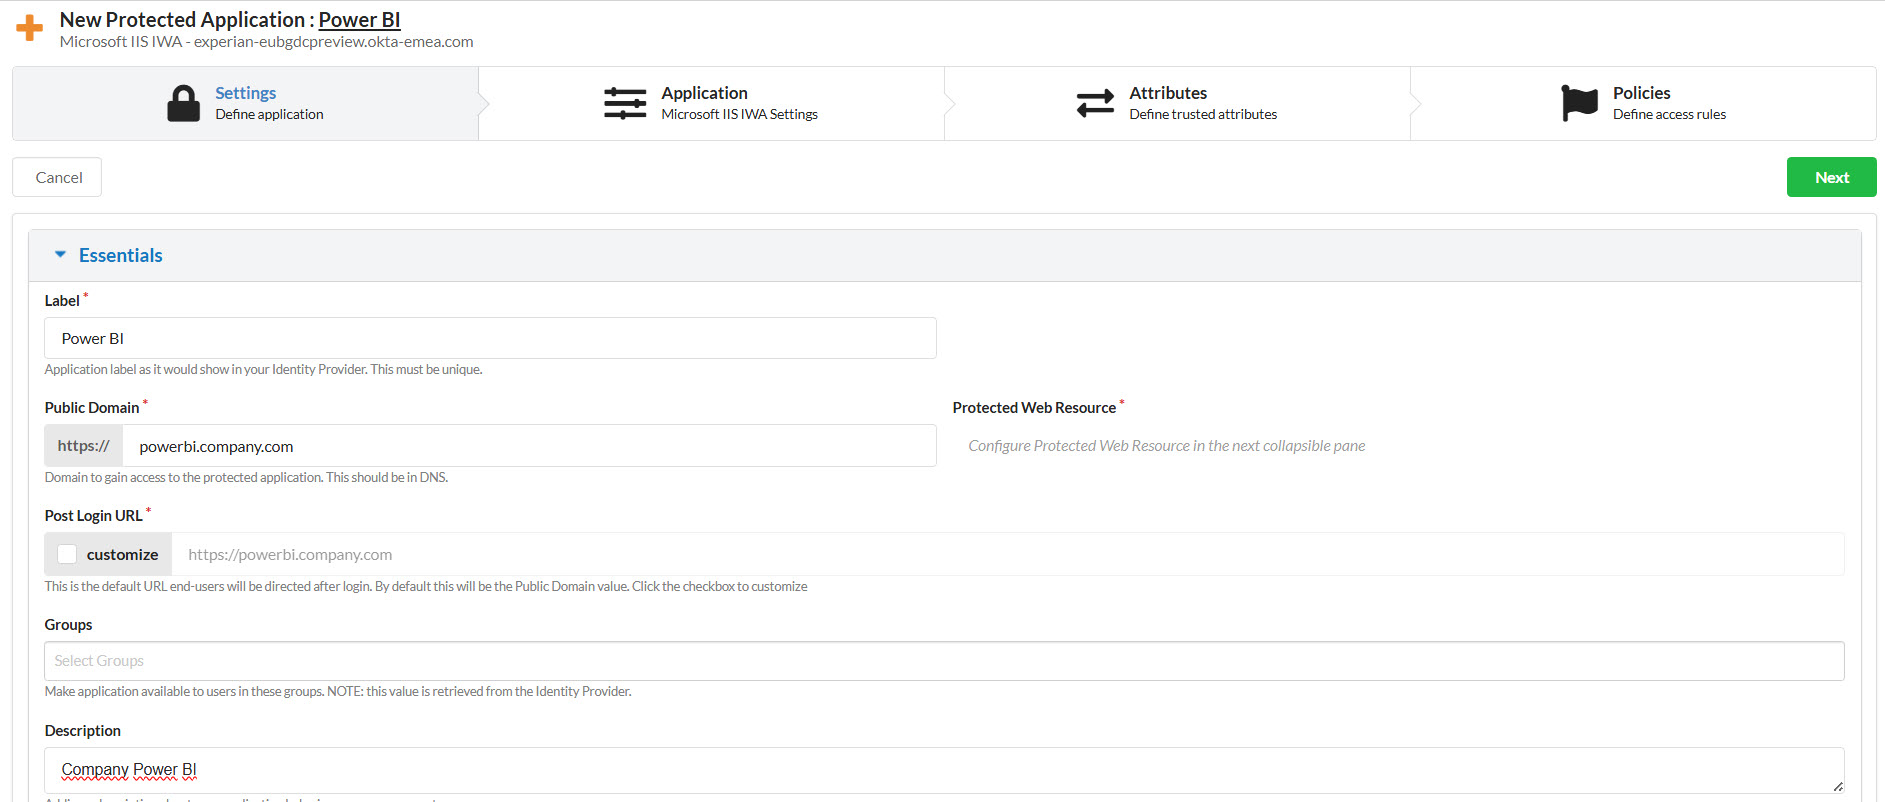
3. Configure the “Settings” Tab
This is where you define how the app will behave.
Essentials
- Label: Give your app a friendly name, like
Power BI Report Server. - Public Domain: This should be your externally accessible URL, e.g.,
pbi.company.com. This is how OAG knows where to route incoming requests. - Post Login URL: Leave this blank.
- Groups: Add the Windows group(s) that should have access to the report server.
- Description: Optional, but helpful for documentation.
Protected Web Resource
- Host: Enter the FQDN of the internal server running Power BI Report Server.
- Example:
https://sql01.company.ads - Tip: If you’re using a high availability setup, use a DNS alias pointing to your cluster or AG listener.
- Example:
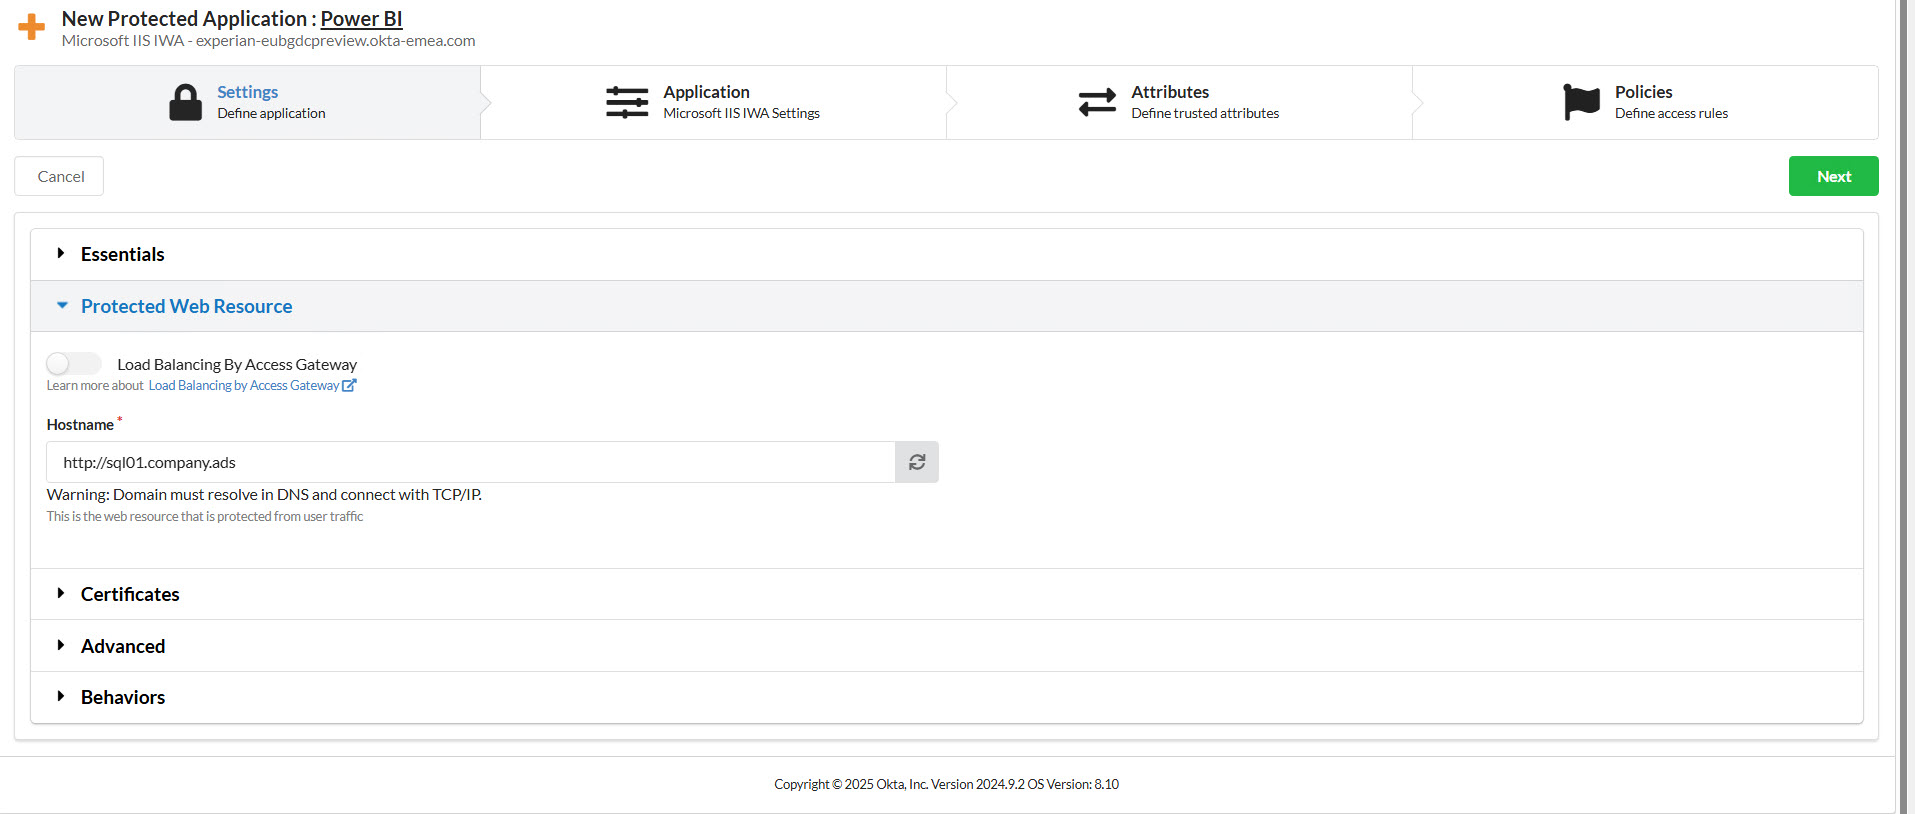
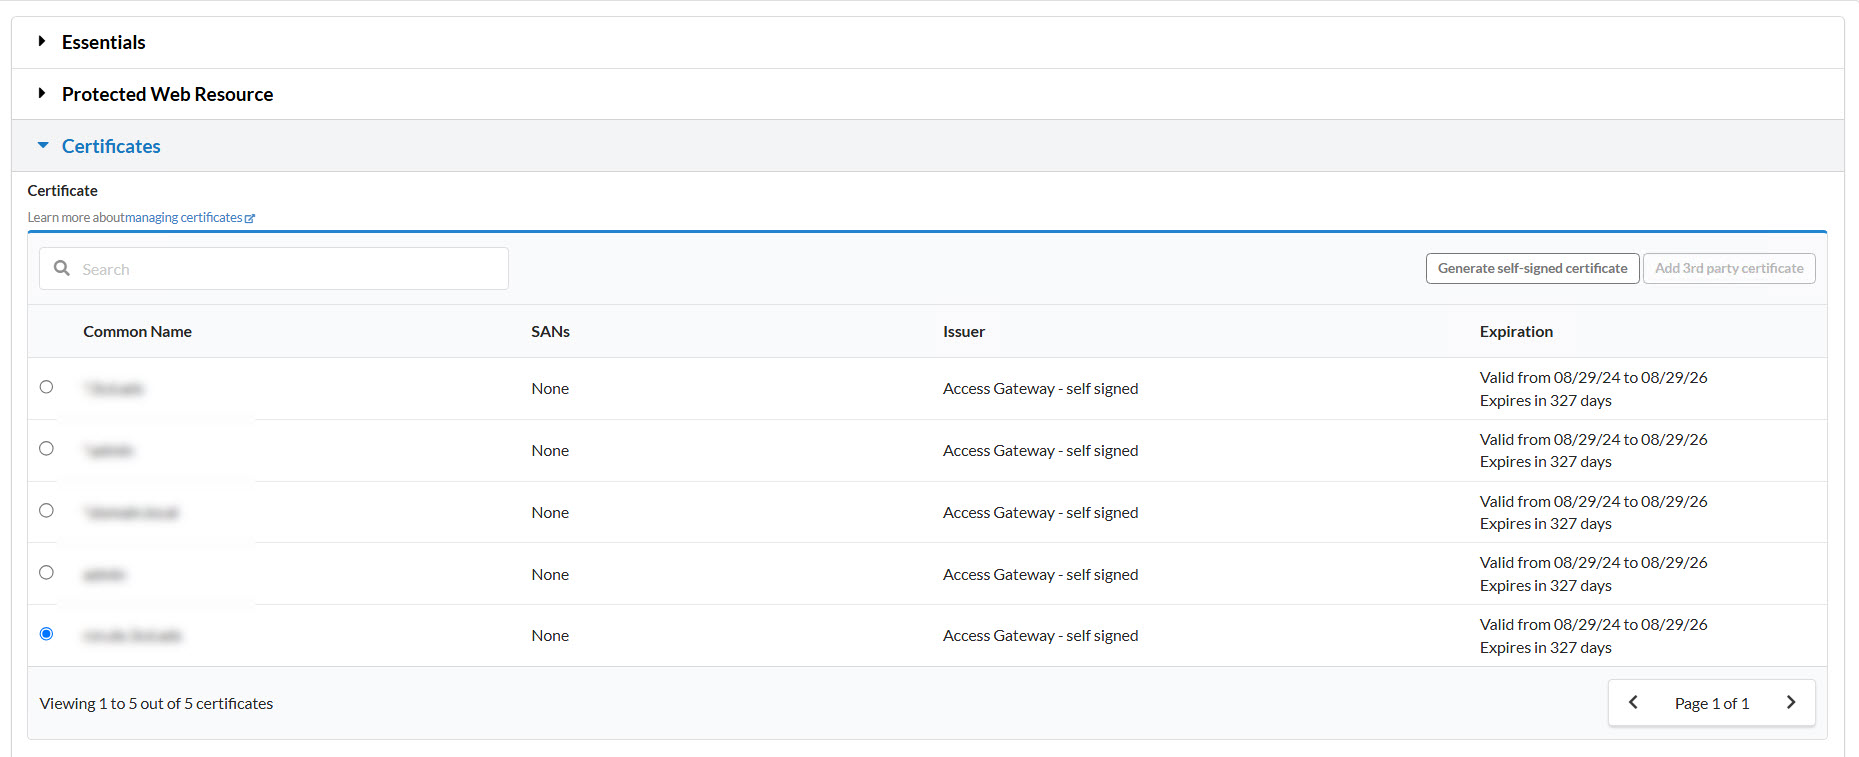
Certificates
Select the certificate that matches your internal domain.
Advanced
Backend Timeout Duration: Set a timeout for inactivity, e.g., 15 minutes.
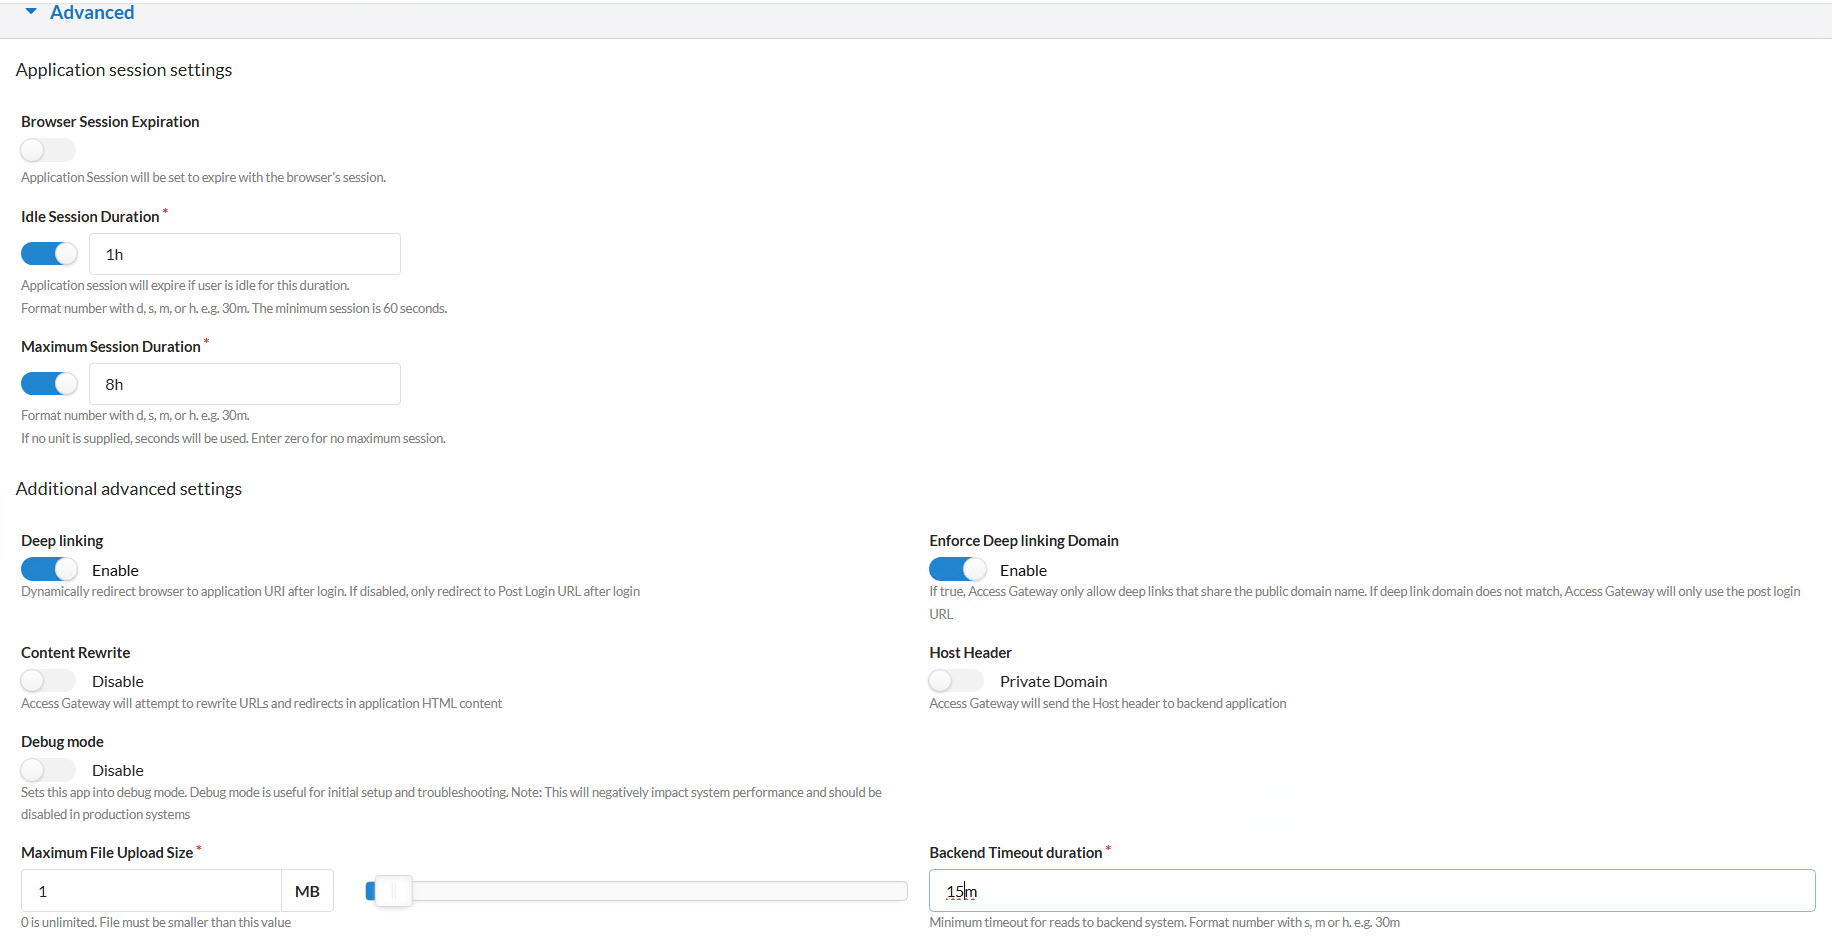
Behaviors
Here you can set up special error pages if you like.
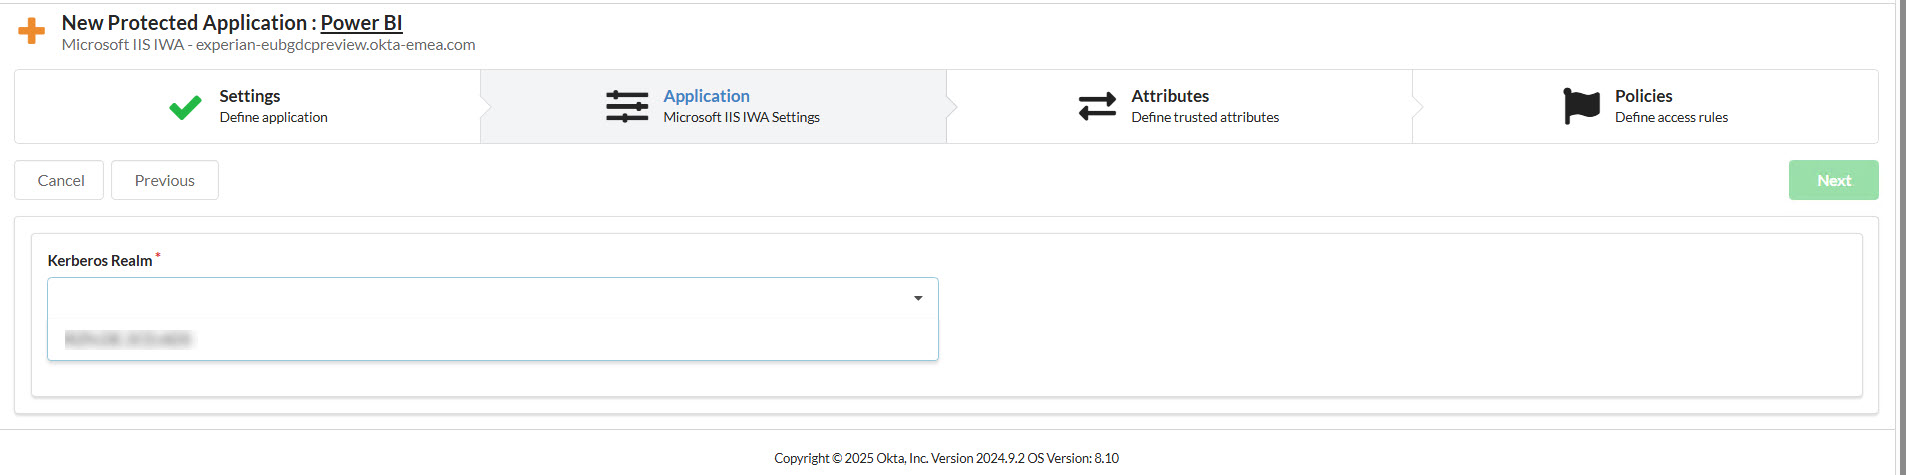
4. Configure the “Application” Tab
- Kerberos Realm: Select your configured Kerberos realm. This again relates to the domain you are authenticating to. Typically you have set up just one Kerberos realm before…so there’s typically not much to choose from 😉.
- Click Next.
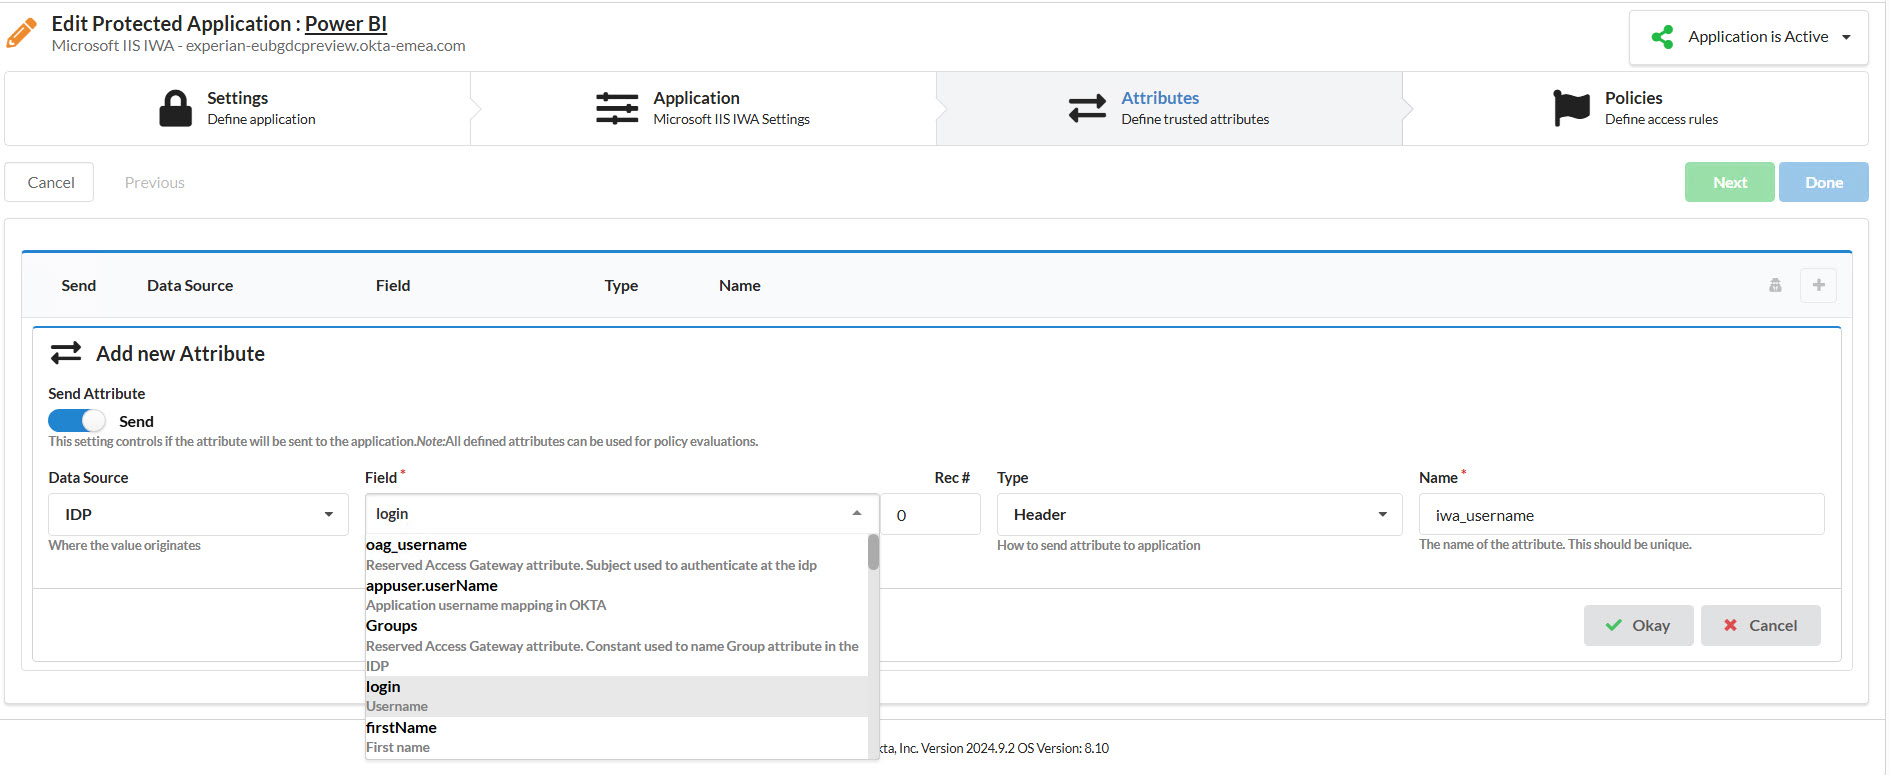
5. Configure the “Attributes” Tab
- Click the plus icon to add a new attribute.
- Set the following:
- Field:
login - Type:
Header - Name:
iwa_username(important: use lowercase—this is case-sensitive!)
- Field:
- This maps the Okta login to the header that Power BI Report Server expects for Kerberos impersonation.
Click “Done”: There is no special configuration needed for the Policies tab.
Finally there is one last crucial step. The external URL links to the URL you have set up beforehand in your reverse proxy. Once authentication is done and a valid Kerberos ticket acquired it redirects to the internal server name. However Power BI lives at the folder /Reports. So you need to add a redirect to your reverse proxy configuration to redirect after authentication…this example is for NGINX:
location = { /
return 301 $scheme://$host/reports;
}
And that’s it! Once saved and deployed, your Power BI Report Server should now be accessible via the external URL, with authentication handled by Okta and backend access handled via Kerberos.
In my case it took a few trials to get it right: Basically you will have to open Developer tools and try to verify where you currently are in the process (still stuck at the reverse proxy, inside the Access Gateway, on Power BI Server but not authenticated etc.). This documentation by Microsoft gives you a first starting point.
Final Thoughts
This setup gives you the best of both worlds:
- Modern authentication with Okta (including MFA, password reset, and app dashboards).
- Secure backend access to your data sources using Kerberos and constrained delegation.
Disclaimer
This article was created based on my personal notes with support from Microsoft Copilot. While Copilot assisted in structuring and refining the content, all technical details have been carefully reviewed and developed by me.